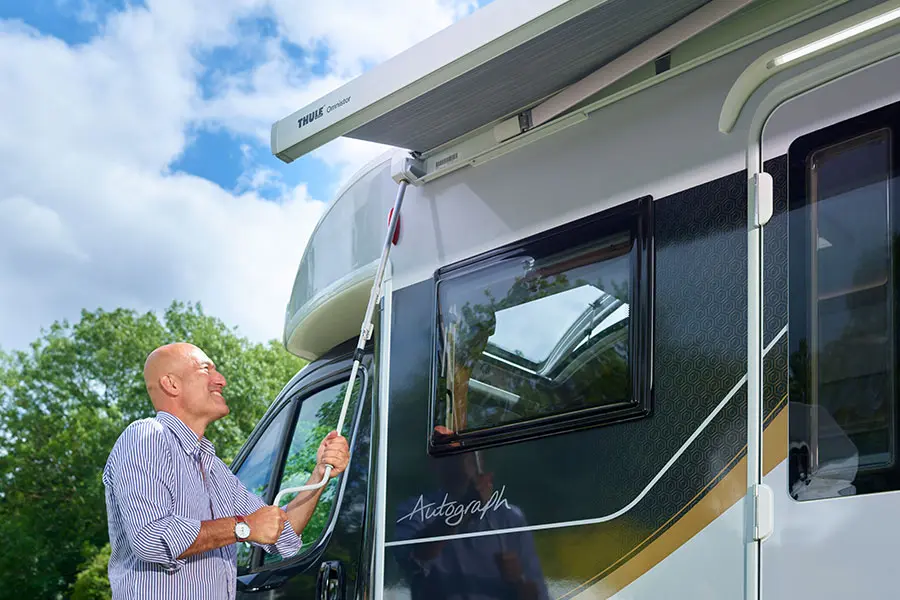
Arriving on site: How to set up your wind out awning
A wind-out awning is a quick and easy way to shield yourself from the sun. Rather than carrying and erecting a separate awning, the unit is attached to the side of the motorhome and can provide shade in no time at all. Here’s how to open a motorhome awning or canopy whether you are new to motorhoming in 2025 or are just looking for a refresher.
- Your awning comes equipped with a winder handle. Undo the collar, extend the winder, and secure by refastening the collar.
- At the end of the awning is a keyed slot that accepts the end of the winder handle. Insert the winder and hold both white handles.
- Wind in a clockwise direction until the awning is extended. Keep watching the aluminium support arms, which will unfold. The awning is fully extended when these aluminium arms are almost straight, and the awning becomes taught.
- Remove the winder handle.
- A leg then supports the awning at either end. Pull each leg from the channel and lower.
- Undo the retaining thumbscrew at the top of the leg and lower to the floor. Tighten the thumbscrew and repeat for the other leg.
- The bottom part of each leg has a ‘foot’ with peg holes. This allows you to peg each leg securely.
- To pack the awning away, follow the steps above in reverse order.

Jump to:
- Beginners Guide to Motorhoming – Homepage
- How to load your motorhome
- How to use your motorhome cab: Ford
- How to use your motorhome cab: Peugeot
- Arriving on site: How to level your motorhome
- Arriving on site: Electrical system
- Arriving on site: Gas system
- Arriving on site: Water system
- Arriving on site: How to set up your Truma or Alde heating system
- Arriving on site: Toilet cassette
- Arriving on site: Fridge
- Arriving on site: Hob, oven and grill
- Arriving on site: TV aerial
- Arriving on site: How to set up your wind out awning
- Glossary
Previous
Arriving on site: How to adjust your motorhome TV aerial
Next
Glossary
{{tooltipsMethod}}